
LED-Neon-Signs
DIY: How to Create Your Own LED Neon Signs in the Classroom
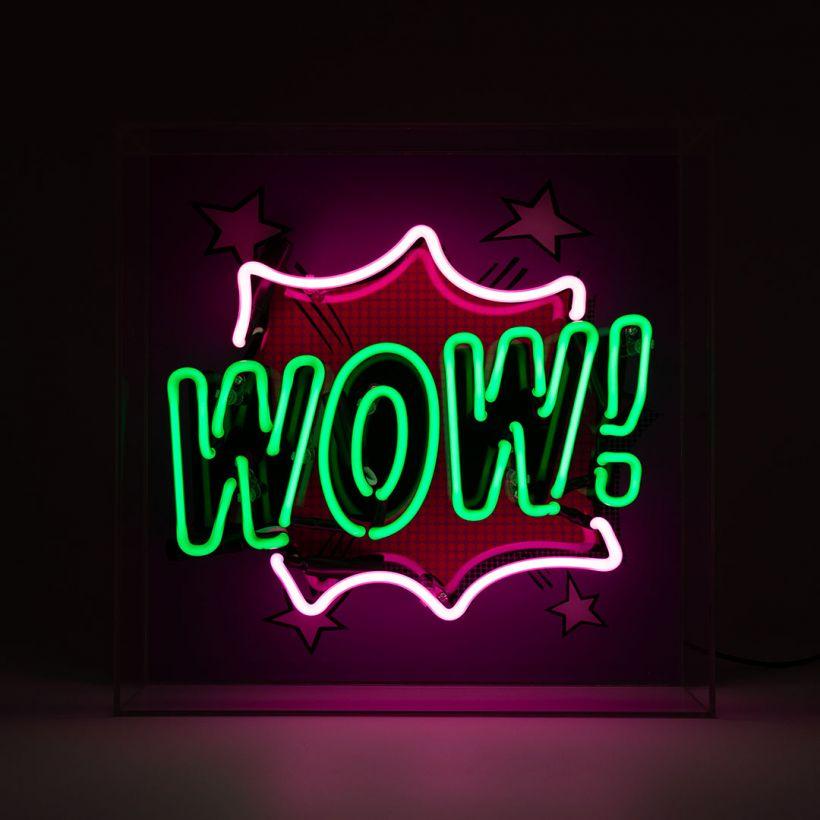
Creating your own LED neon-style sign is a fun and accessible project that can be done in a classroom setting or at home. LED neon signs offer a safer, energy-efficient, and customizable alternative to traditional gas neon signs. Follow this simple guide to assist students and teachers in making their own DIY LED neon sign.
Materials Needed:
- Flexible LED Neon Light Strip:
- These strips replicate traditional neon lights but use LEDs encased in a flexible silicone or PVC tube. Available in various colors, they can be cut to suit your design.
Transparent Acrylic Sheet or Plywood:
- This will serve as the base for your sign. Acrylic provides a clear, modern appearance, while plywood offers a more rustic or solid background.
Adhesive Backing or Mounting Clips:
- Many LED neon strips come with adhesive backing. If not, you'll need mounting clips or a strong adhesive like super glue to attach the strips to the base.
Power Supply and Adapter:
- Ensure your LED strip includes a power supply. If it doesn't plug directly into a wall outlet, you'll need an adapter.
Marker or Chalk:
- Use these tools to sketch your design on the base material.
Scissors or Wire Cutters:
- These tools will help you cut the LED strip to the appropriate length.
Heat Shrink Tubing (Optional):
- Useful for protecting or joining any exposed wires.
Screws and Drill (Optional):
- For hanging your sign on a wall, you may need screws and a drill.
Step-by-Step Instructions:
- Design Your Sign:
- Begin by sketching your design on paper. For beginners, opt for simple shapes like a heart, star, or short word.
- Transfer your design to the acrylic sheet or plywood using a marker or chalk. Ensure the lines are clear to guide the placement of the LED strip.
Prepare the LED Strip:
- Measure the required length of the LED strip for your design. Cut the strip at the designated points, so measure carefully.
- Cut the strip to the correct length using scissors or wire cutters.
Shape the LED Strip:
- Carefully bend and shape the LED strip to fit your design. Handle gently to avoid damaging the internal wiring.
- For sharp corners or tight curves, proceed slowly to ensure the strip follows the design lines accurately.
Attach the LED Strip to the Base:
- Remove the adhesive backing from the LED strip and press it firmly along your design lines.
- If the strip lacks adhesive backing, use mounting clips or apply a strong adhesive to secure it. Hold the strip in place until the adhesive sets.
Connect the Power Supply:
- Connect the LED strip to the power supply as per the manufacturer's instructions. This typically involves connecting wires from the strip to the power adapter.
- If there are exposed wires, cover them with heat shrink tubing.
Test Your Sign:
- Plug in the power supply and switch on your sign. Verify that all parts of the LED strip light up evenly. If there are issues, recheck your connections.
- If everything is functioning correctly, unplug the sign and make any final adjustments to the LED strip’s positioning.
Mount or Display Your Sign:
- To hang the sign, drill holes in the base corners and use screws to mount it on the wall.
- Alternatively, place the sign on a shelf or desk.
Finishing Touches:
- Clean any visible marks or dust from the base. You can also paint or decorate the base for a more customized look.
Tips for Success:
- Start Simple: Begin with a straightforward design such as a heart, star, or short word. As you gain confidence, you can attempt more intricate shapes or phrases.
- Use Templates: For detailed designs, consider printing a template to place under the acrylic or plywood as a guide.
- Safety First: Exercise caution when working with electrical components. Ensure your power supply is properly connected and avoid overloading the circuit.
Applications and Ideas:
- Room Decor: Design personalized signs with your name, favorite quotes, or shapes that complement your room’s decor.
- Gifts: Handmade LED neon signs make excellent personalized gifts for friends and family.
- School Projects: This project offers an engaging way for students to explore circuits and design while creating something cool and functional.
- Event Decorations: LED neon signs can add a vibrant, colorful element to parties, weddings, or holiday celebrations.
Conclusion
Creating your own LED neon sign is a rewarding and creative project ideal for the classroom. It’s an engaging way to learn about design and electronics while producing a custom piece of art that’s both decorative and functional. By following these steps, students and teachers can craft vibrant, personalized signs that enhance any space. Gather your materials, sketch your design, and let your creativity shine with your very own LED neon sign!
Author Bio:
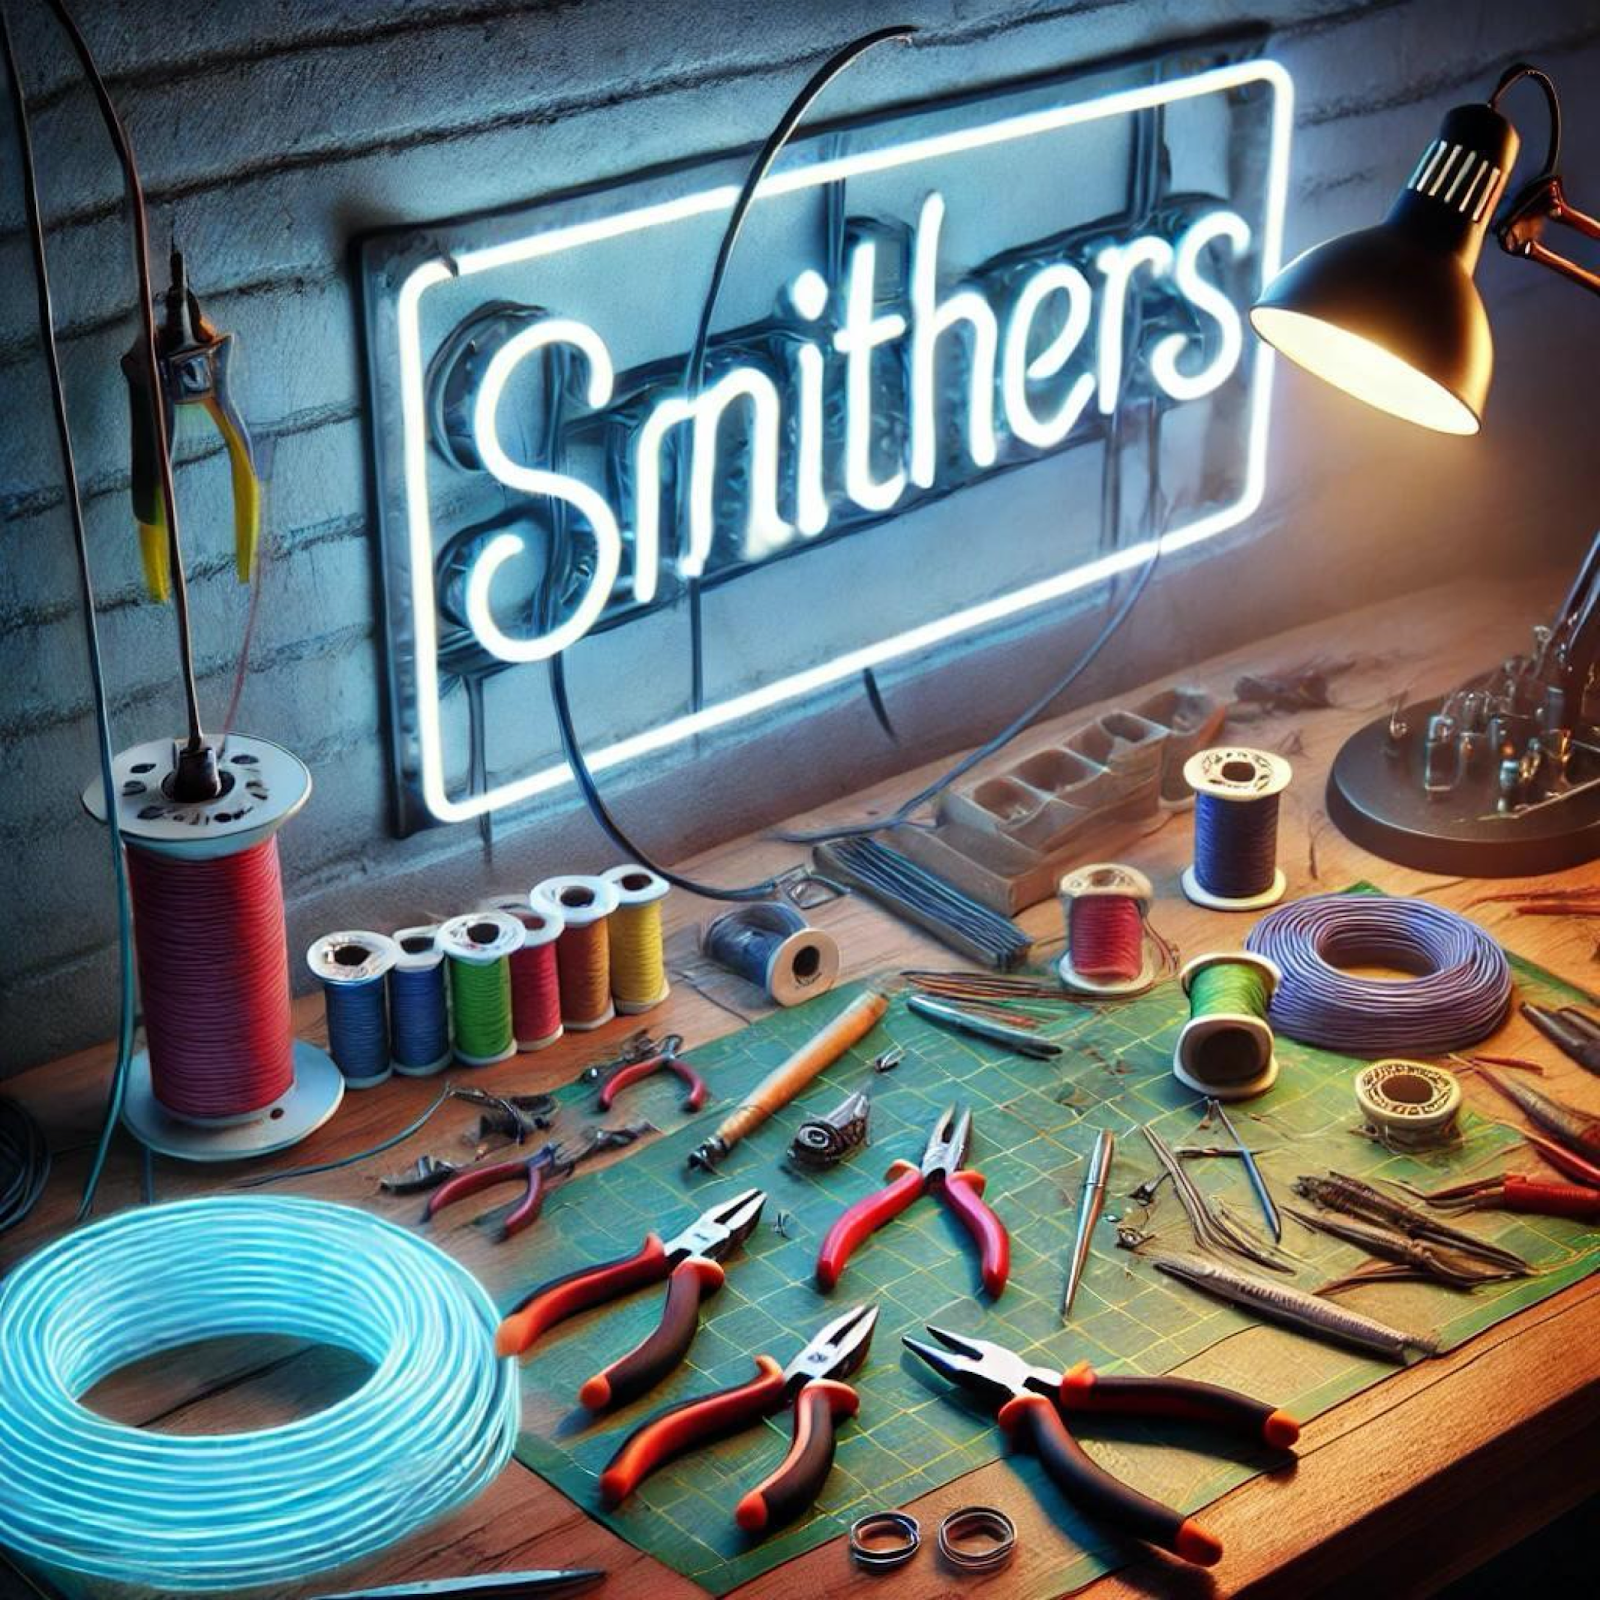
Nick Smith is the founder and creative force behind Smithers, where he merges craftsmanship with a passion for vintage and antique items. As a neon sign maker, Nick specializes in creating custom LED neon signs that blend nostalgic design with modern technology. With extensive experience in the antique industry, he has a keen eye for timeless pieces and is dedicated to preserving historical charm through his work. Whether crafting bespoke neon signs or curating upcycled treasures, Nick’s expertise is evident in every project he undertakes.
Smithers
Church Farm, Main Road, Etton, Peterborough, Cambridgeshire PE67DA
Не найдено ни одного тега, содержащего «LED-Neon-Signs»